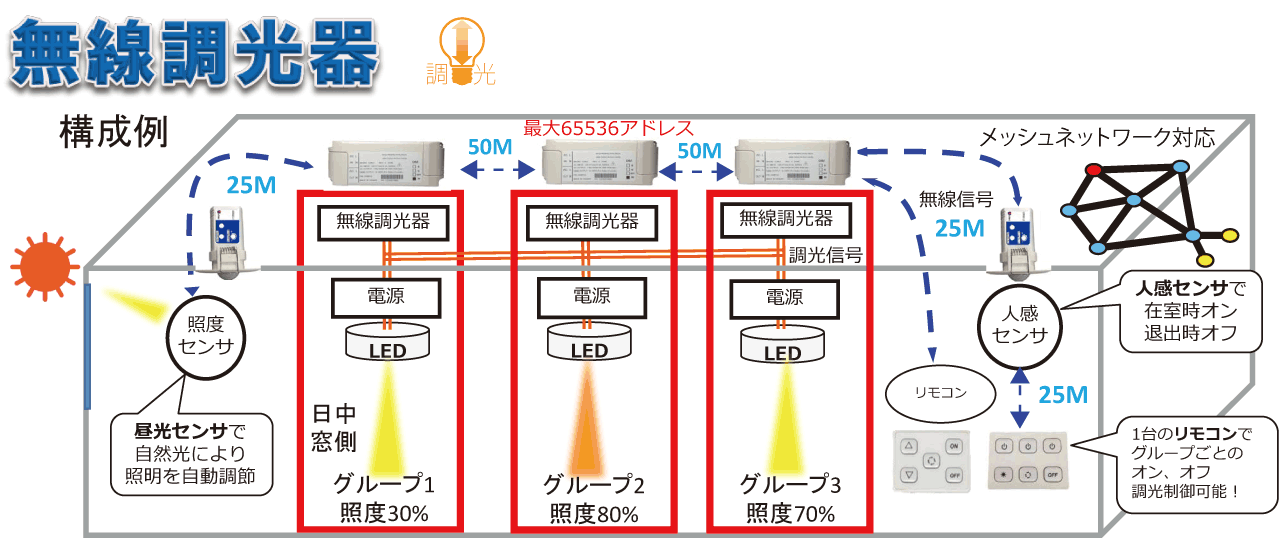
■特徴
・配線レスで個別調光、グループ設定、シーン設定など簡単に設定可能!
調光規格 比較
| 調光方式 | 位相制御 | PWM | 0-10V | ブライト | DMX | DALI |
|---|
| AC線 | 〇 | 〇 | 〇 | 〇 | 〇 | 〇 |
|---|
| 調光線 | × | 〇 | 〇 | 〇 | 〇 | 〇 |
|---|
| アドレス | × | × | × | 〇 | 〇 | 〇 |
|---|
| コマンド | × | × | × | 〇 | × | 〇 |
|---|
無線規格 比較
| Wi-fi | Bluetooth | Zigbee |
|---|
| 接続ノード | 32ノード | 7ノード | 65,536ノード |
|---|
| 電池寿命 | 数時間 | 数日間 | 数年間 |
|---|
| 通信距離 | 100m | 10m | 1m~3km |
|---|
| 通信速度 | 11~54Mbps | 1~24Mbps | 250kbps |
|---|
DALI 比較
| ブライト | DALI |
|---|
| アドレス | 65536 | 64 |
|---|
| グループ | 100 | 16 |
|---|
| シーン | 50 | 16 |
|---|
■配線例

| 無線調光器通信距離:50m | AC入力0-10V調光対応電源必要
 | DC入力調光対応電源不要
|
|---|
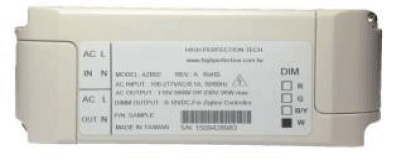
| 型番 | CHB64-HS(調光) | SLH64H-S(調光) |
|---|
| CHB64-HY(調光・調色) | SLH64H-SY(調光・調色) |
| CHB64-HR(RGB) | SLH64-SR(RGB) |
| CHB64-HW(RGBW) | SLH64-SW(RGBW) |
| サイズ | 112(L)x43(W)x29mm(H)mm |
|---|
| 入力 | AC100~277V 50/60Hz | DC12~24V |
|---|
| 定格電流(負荷) | 4.55A | 5A |
|---|
| 100V入力時400Wまで | 200V入力時800Wまで | 12V入力時50Wまで | 24V入力時100Wまで |
| 調光信号 | 0-10V(4チャンネル:オプション) | 0-10V(単色、調色、RGB、RGBW) |
|---|
| 保護機能 | 過電流保護(OCP)短絡保護(SCP)科温度保護(OTP95℃) |
|---|
| 使用環境温度 | -10℃~40℃(結露無きこと) |
|---|
| 親機リモコン通信距離:25m | 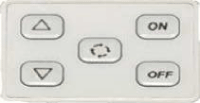 | 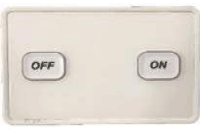 |
|---|
| 型番 | A5-P51KD | U2-P21XX |
|---|
| グループ | 1回路 |
|---|
| オン・オフ | 〇 | 〇 |
|---|
| 色温度変更 | 4段階 | - |
|---|
| 明るさ変更 | 8~9段階(255÷30スケール) | - |
|---|
| 子機リモコン通信距離:25m | 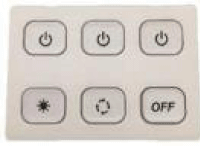 | 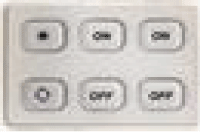 | 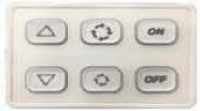 |
|---|
| 型番 | A6-C63KD | B6-C62KD | T6-C61KD |
|---|
| グループ | 3回路 | 2回路 | 1回路 |
|---|
| オン・オフ | 〇 |
|---|
| 色温度変更 | 4段階 | 10段階(370-200÷17 Scale) |
|---|
| 明るさ変更 | 4~5段階 | 8~9段階(255÷30 Scale) |
|---|
- 取り付ける場所によって到達通信距離が短くなったり正しく動作しない場合があります
- 金属製の壁や天井
- 強電界地域
- 電波を通しにくい壁や扉
- 受信部が金属に覆われる場所等
センサー通信距離:25m
センサー距離:6m |  |  |
|---|
| 型番 | 人感センサー:MSR64I-PR | 昼光センサー:LSR64I-LS |
|---|
| サイズ | 60(W)x71(H)mm |
|---|
| 入力 | DC12V(AC100~277V 50/60Hz) |
|---|
| 機能 | 保持時間:20秒、1分、3分、5分
待機照度:0%、10%、20%、30% | 自然光による明るさと暗さを自動調整 |
|---|
| 使用環境温度 | -10℃から40℃(結露無きこと) |
|---|
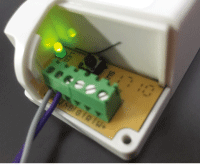
【ペアリング】
調光器とリモコンを登録
- 下図の各ペアリングボタンを約5秒間押し続けます。【長押し操作】
- ぺアリングボタン周辺のLEDがオレンジに点滅します。
調光器の緑色LEDが緑色に点滅から常時点灯。→ペアリング完了です。
→リモコンでオン、オフや明るさの制御ができます。
各リモコンのペアリングボタン
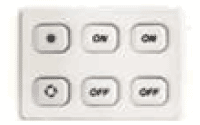
1グループ(回路)リモコン ペアリングボタン
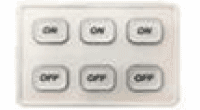
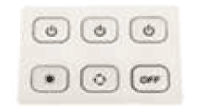
| 型番 | U2 | A5 | D3 | E4 | D2 | T6 |
|---|
| リモコン外観 | 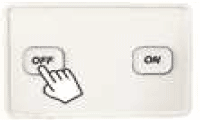 | 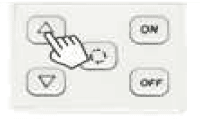 | 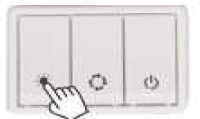 | 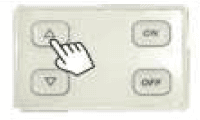 |  | 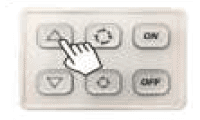 |
|---|
| 登録ボタン |  |  |  |  |  |  |
|---|
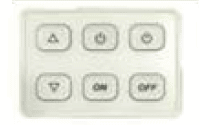
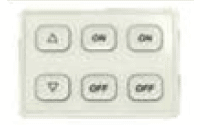
2グループ(回路)リモコン ペアリングボタン
3グループ(回路)リモコン ペアリングボタン
- 同じグループ(回路)にしたい電源と調光器のみ電源を入れて、ペアリングして下さい。
ほかの調光器が電源オンでないことをご確認ください。誤って同グループ(回路)に登録される可能性があります。
- 器具設置前にペアリング完了を推奨します。
【ペアリング】
A リモコンと調光器を登録 例)A5 リモコン
手順1.同じグループ(回路)にしたい電源と調光器のみ電源をオンにしてください。
→誤って登録される可能性があります。
手順2.リモコン

ボタンを約5秒間押し続けます。【長押し操作】

手順3.リモコンの
周辺のLEDがオレンジに点滅。調光器のLEDが緑色に常時点灯。

手順4.リモコンでオン、オフや明るさの制御ができます。
B リモコンと人感センサ、昼光センサを登録 例)A5 リモコン
手順1.人感センサまたは昼光センサの電源をオン。
※登録するセンサのみ電源を入れ、ペアリング下さい。→誤って登録される可能性があります。
手順2.A5のリモコンボタン
を約5秒押し続けます。【長押し操作】
センサのLEDが赤に点滅から常時点灯→ペアリング完了。
Aで登録したリモコンのグループ(回路)でセンサが制御されます。

手順3.人感センサーの待機時間と待機時の明るさをポテンシャルメーターで設定。
- 保持時間(Delay Off Time):20秒、1分、3分、5分
- 待機照度(Stand by Bright):
- リセットボタン(Reset Button):約7秒間長押しでペアリング解除
昼光センサの省エネルギー率をポテンシャルメーターで設定。
- 計測照度:0~10,000lx
- 省エネ率設定(Energy Saving):+約7秒間長押しでペアリング解除
- リセットボタン(Reset Button):約7秒間長押しでペアリング解除
無線調光器のペアリング解除
リセットボタンを長押し(約7秒間長押しするとLEDが点灯します。⇒リセット完了です。)

お問い合わせ